
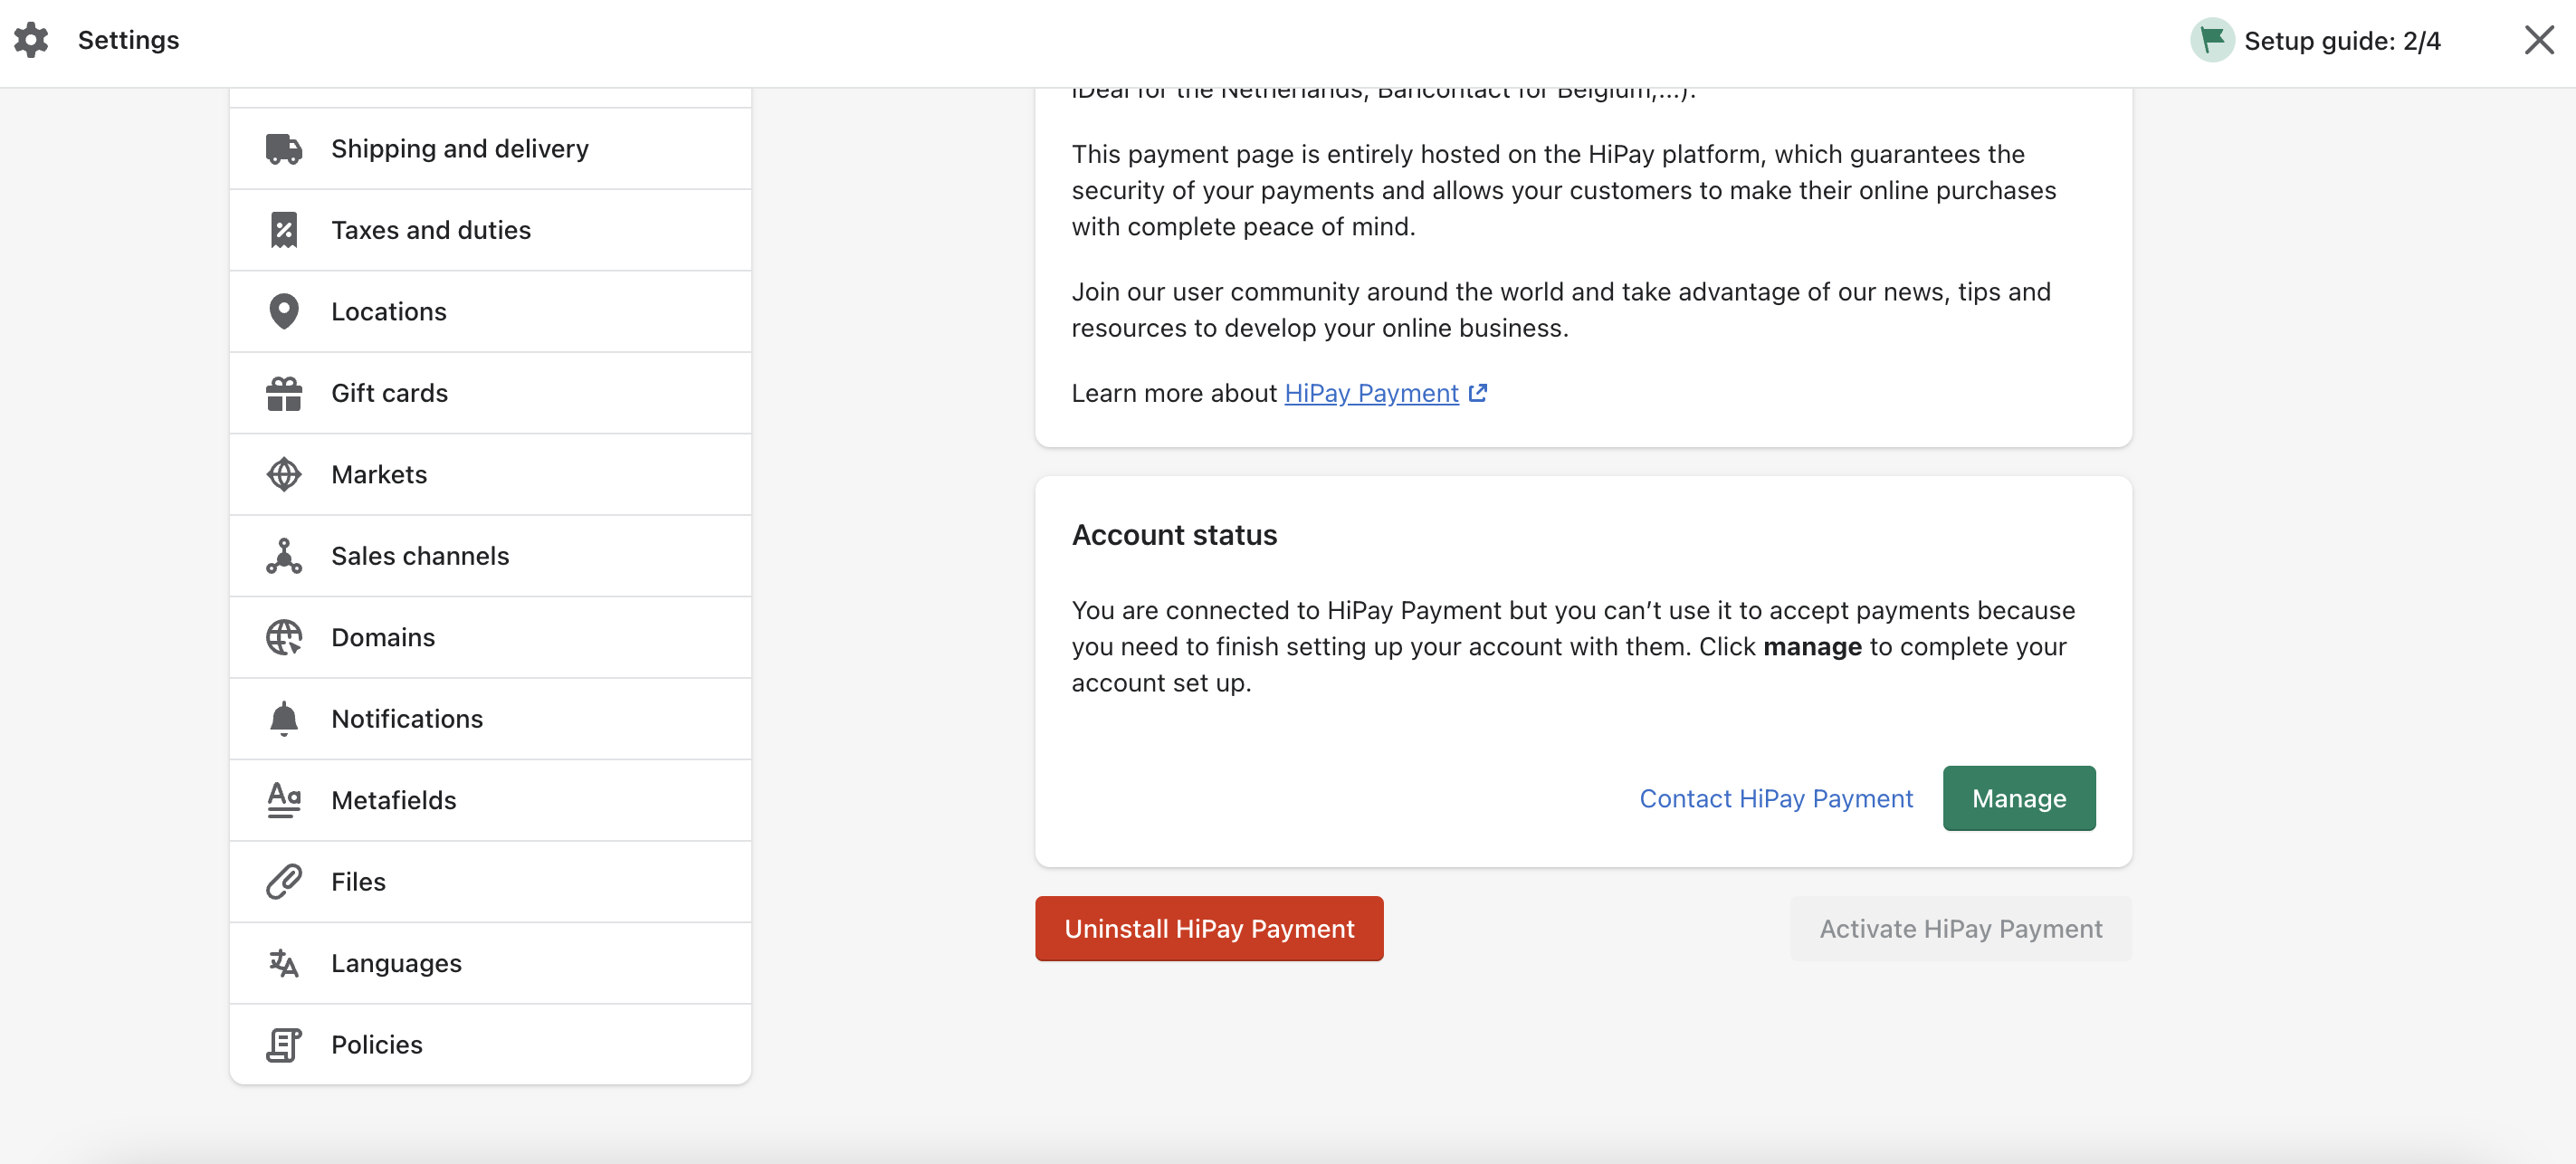
The next step after having installed Hipay’s payment app is to configure it. In order to do so click “Manage” button. You will be redirected to Hipay’s Console.
Shopify
Console
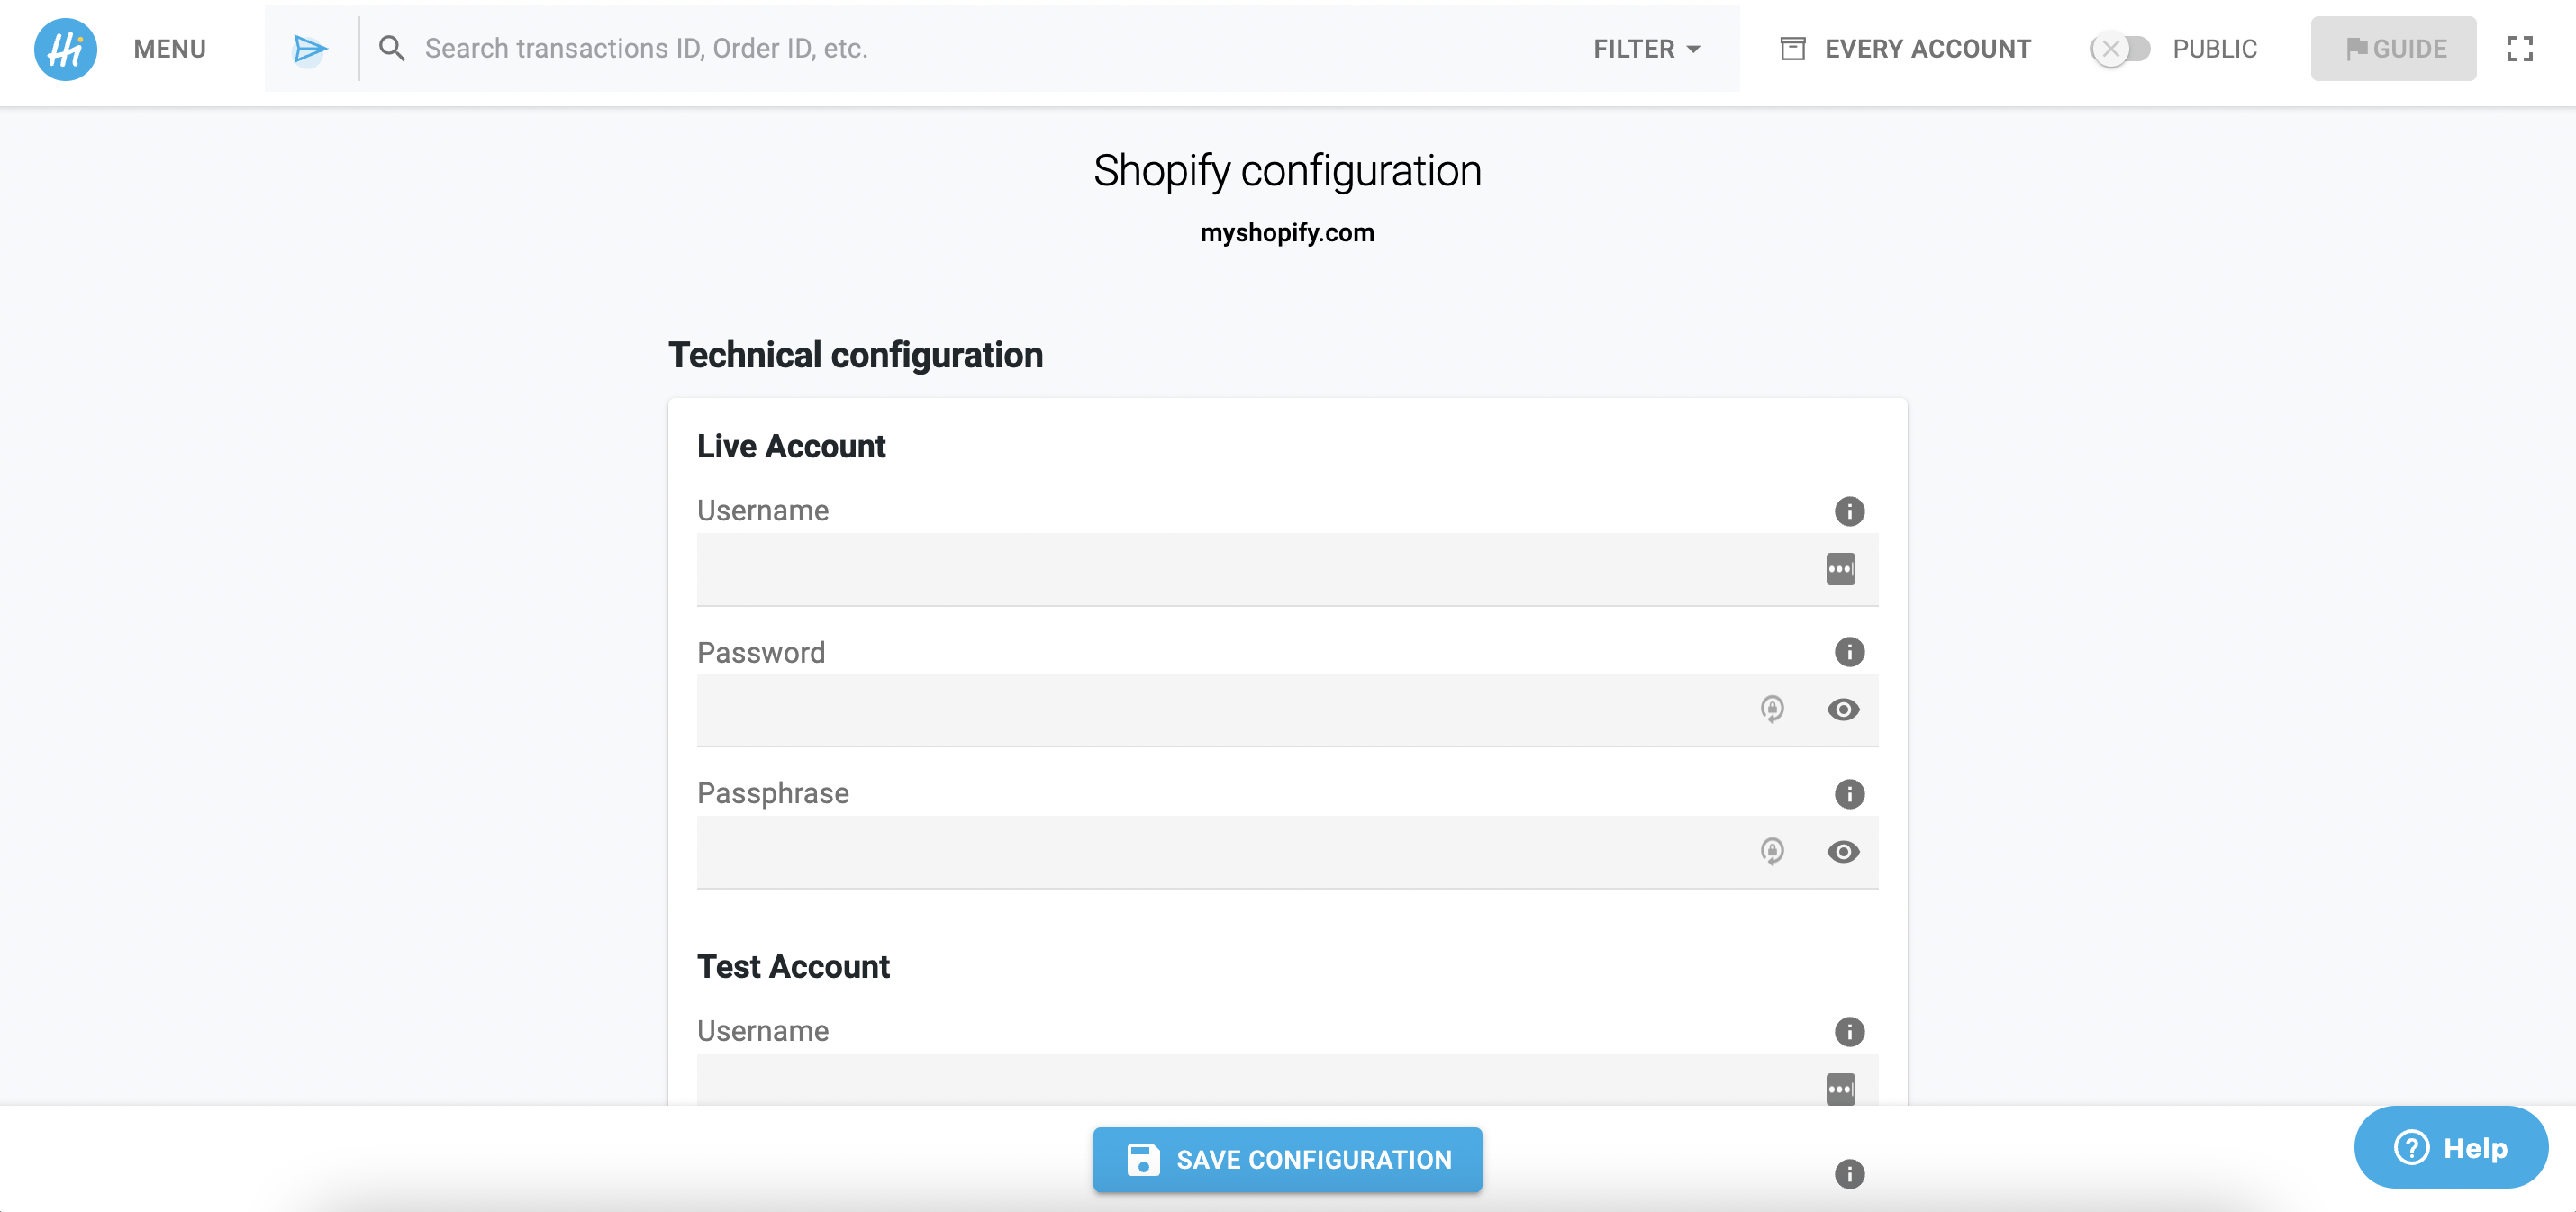
Credentials
The first thing you need to configure are your private credentials username and passphrase. You can find this information on the TPP Backoffice : Integration > Security Settings.

Please make sure that the Hashing Algorithm of your HiPay Account is SHA-256.
After, come back on console to integrate the credential for live account and test account.
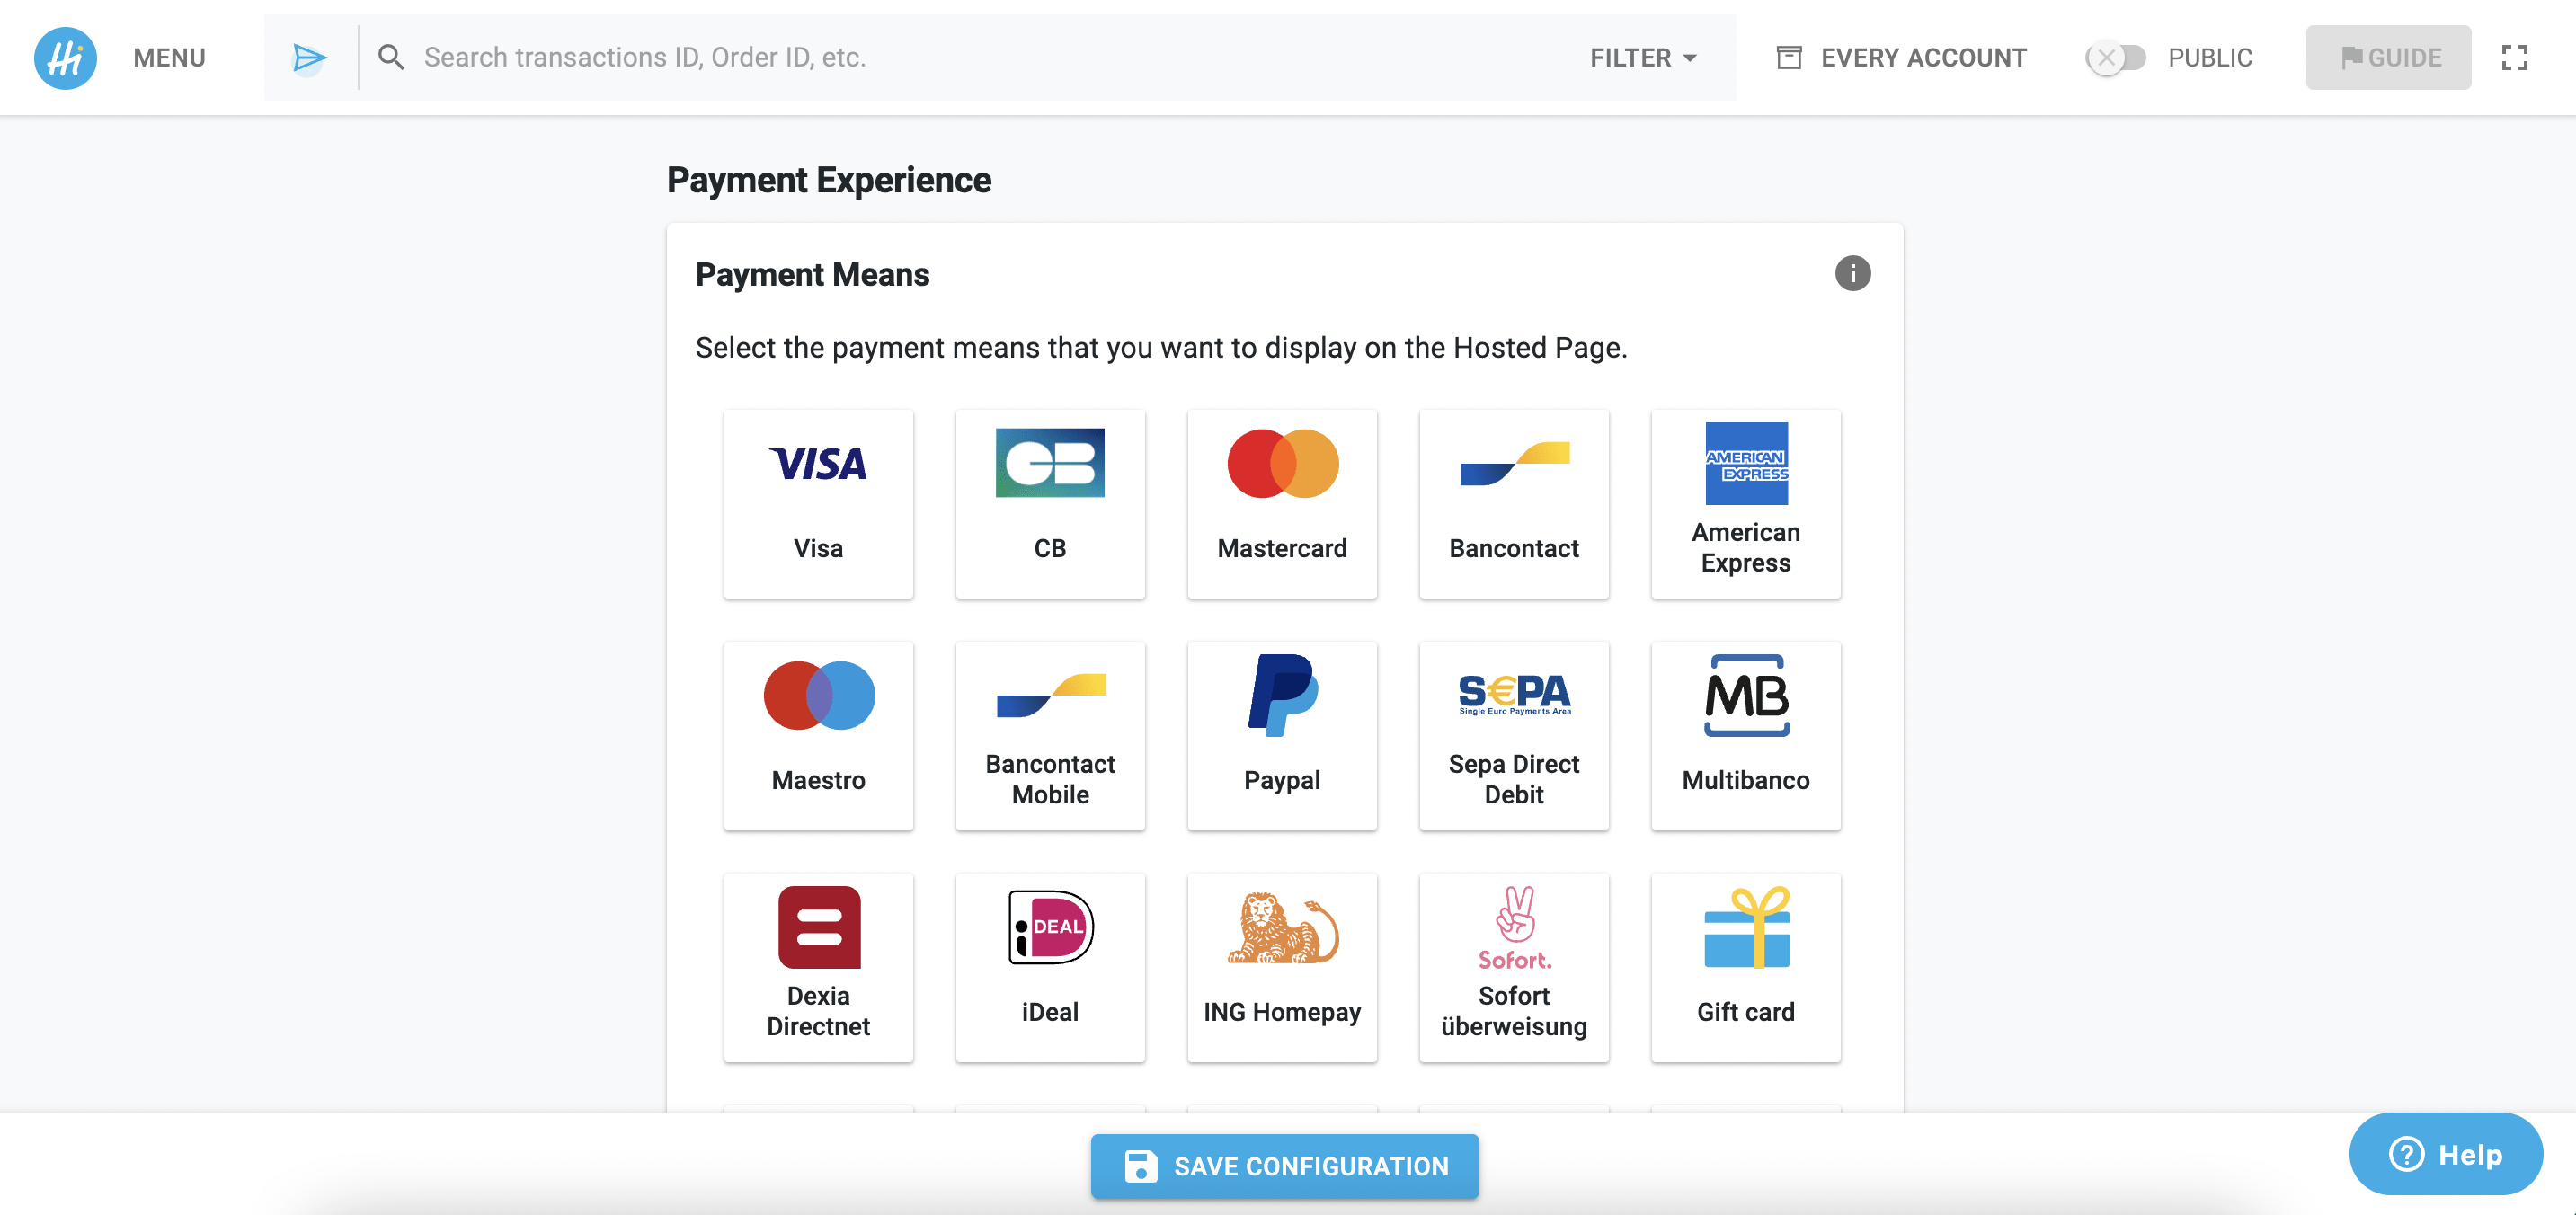
Payment Means
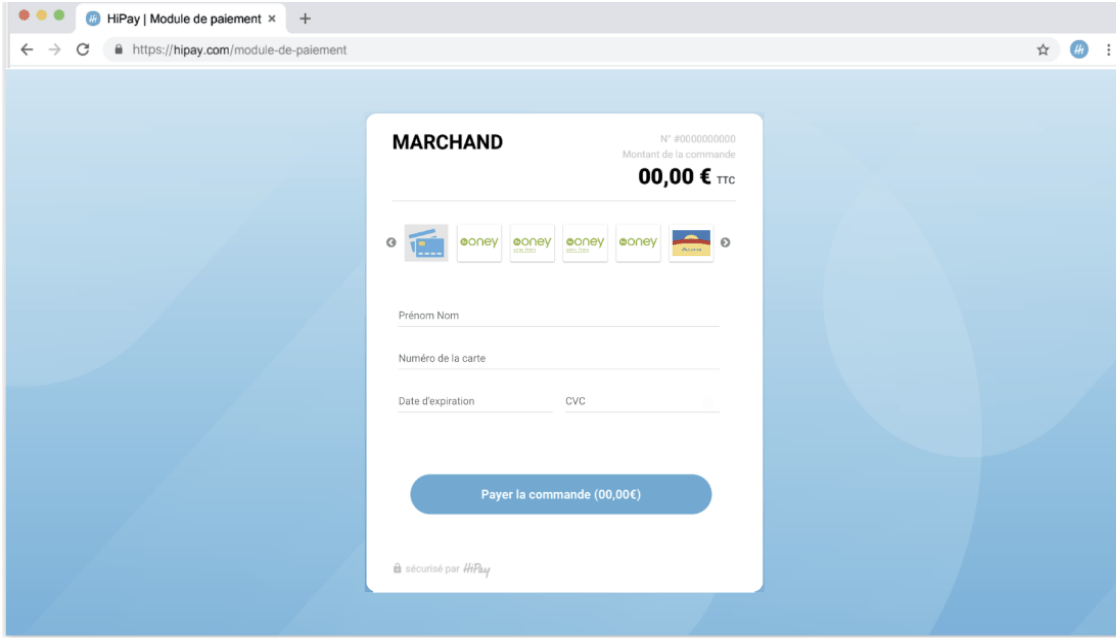
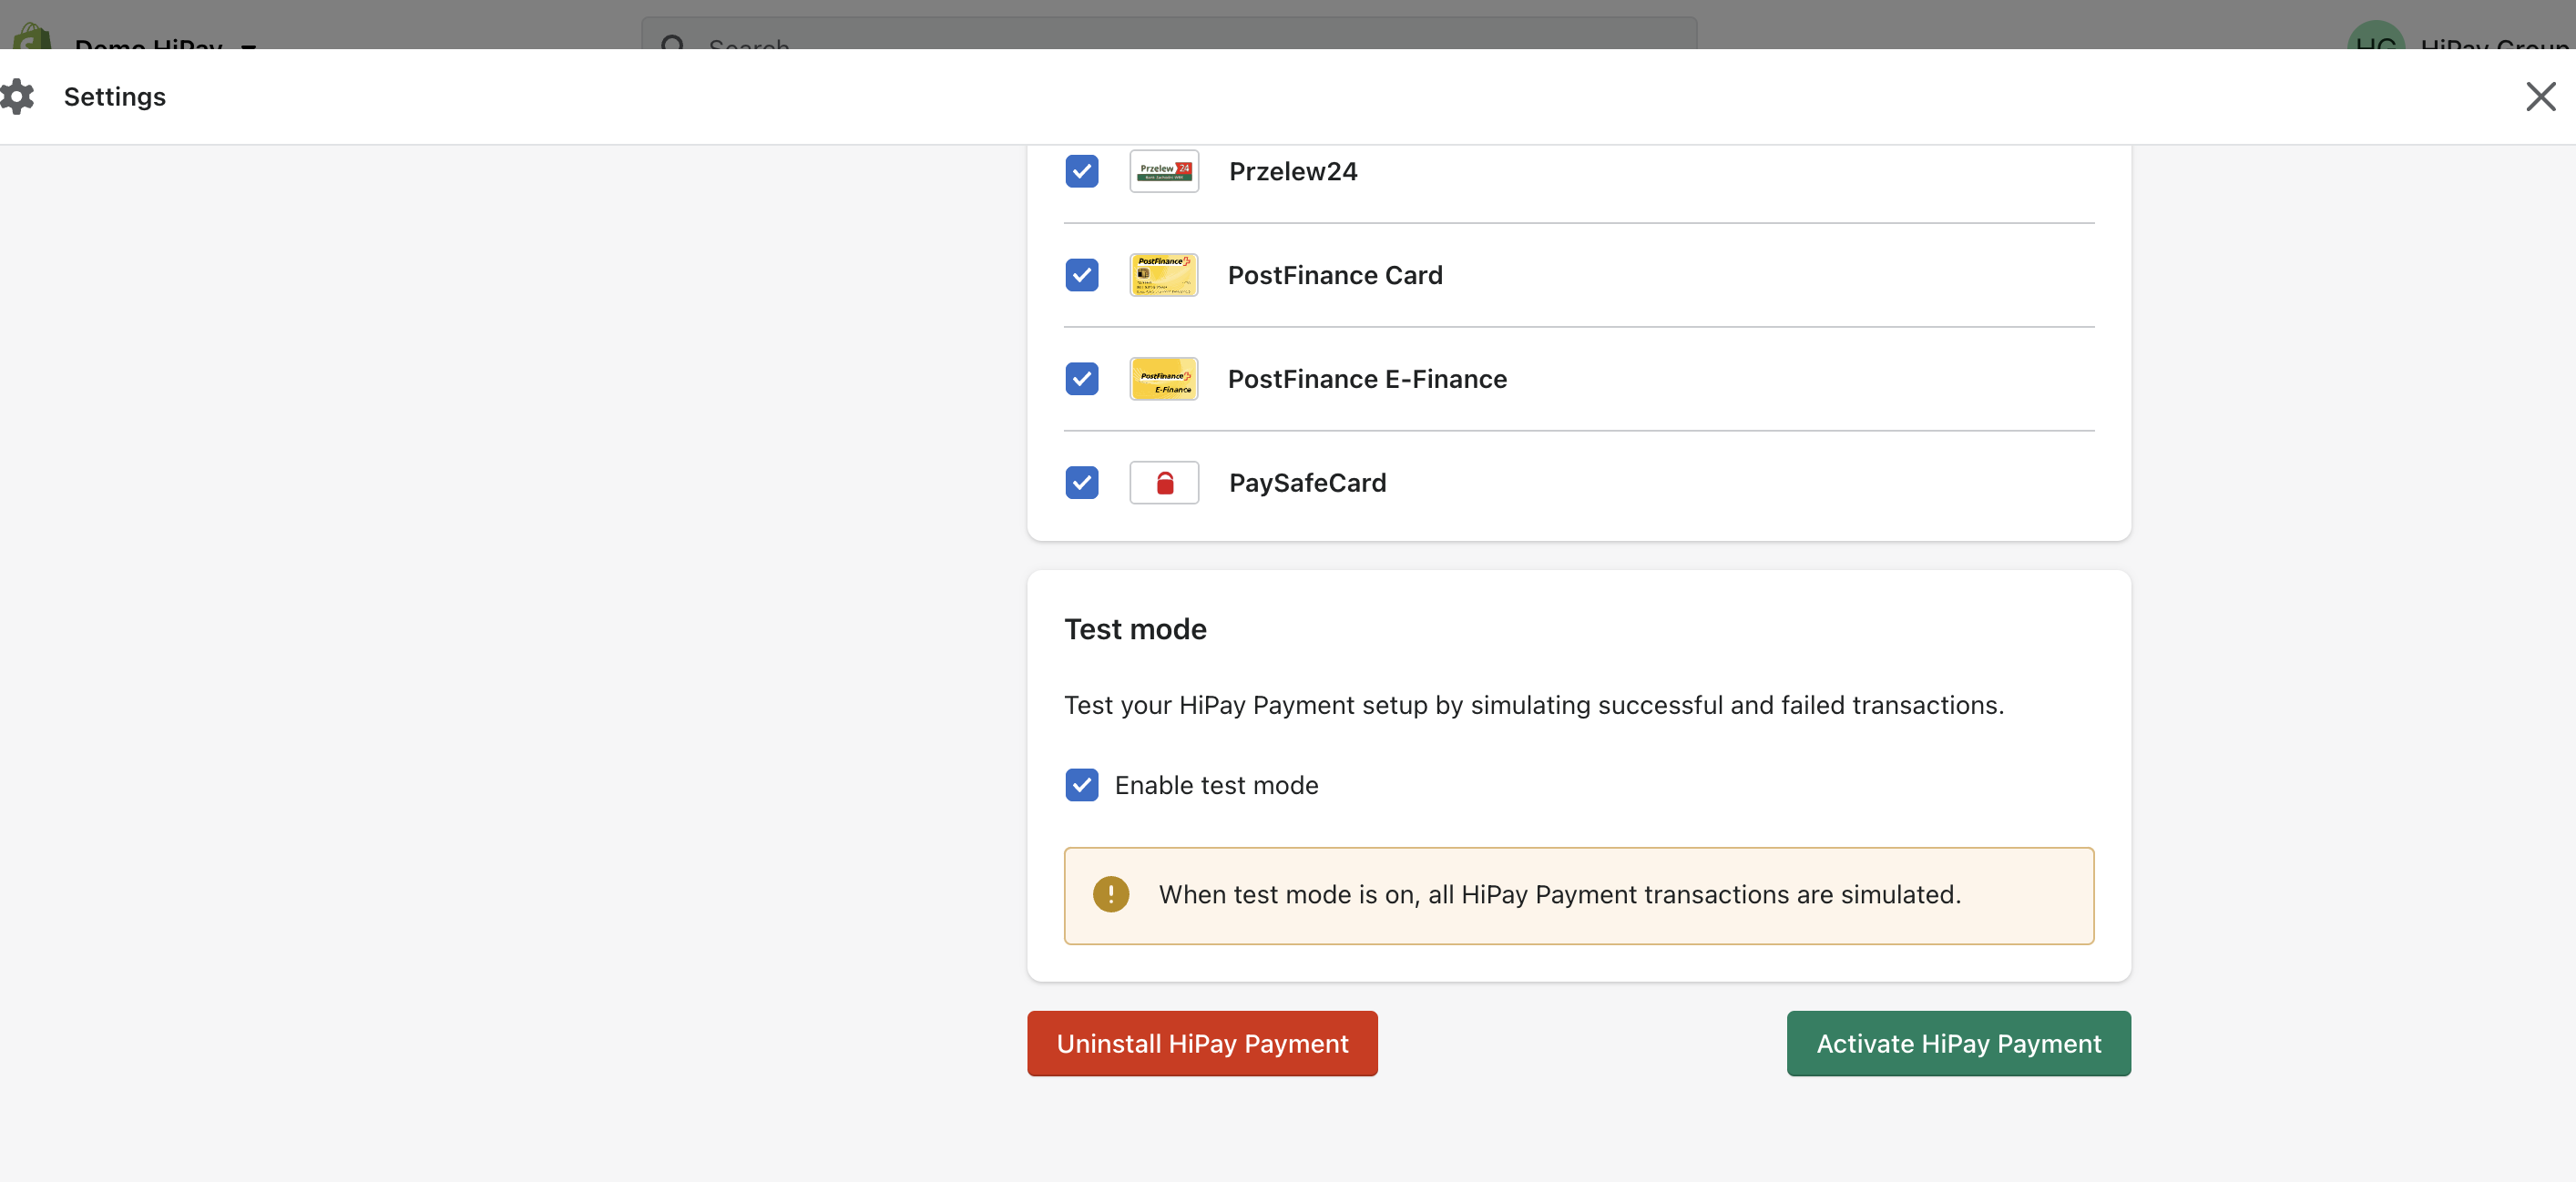
You can choose the payment means that you want to display on your checkout.
Please, make sure that you have contracted all the selected payment means on your HiPay Entreprise account. You can verify it on the TPP Back Office : Account > Payment Means.
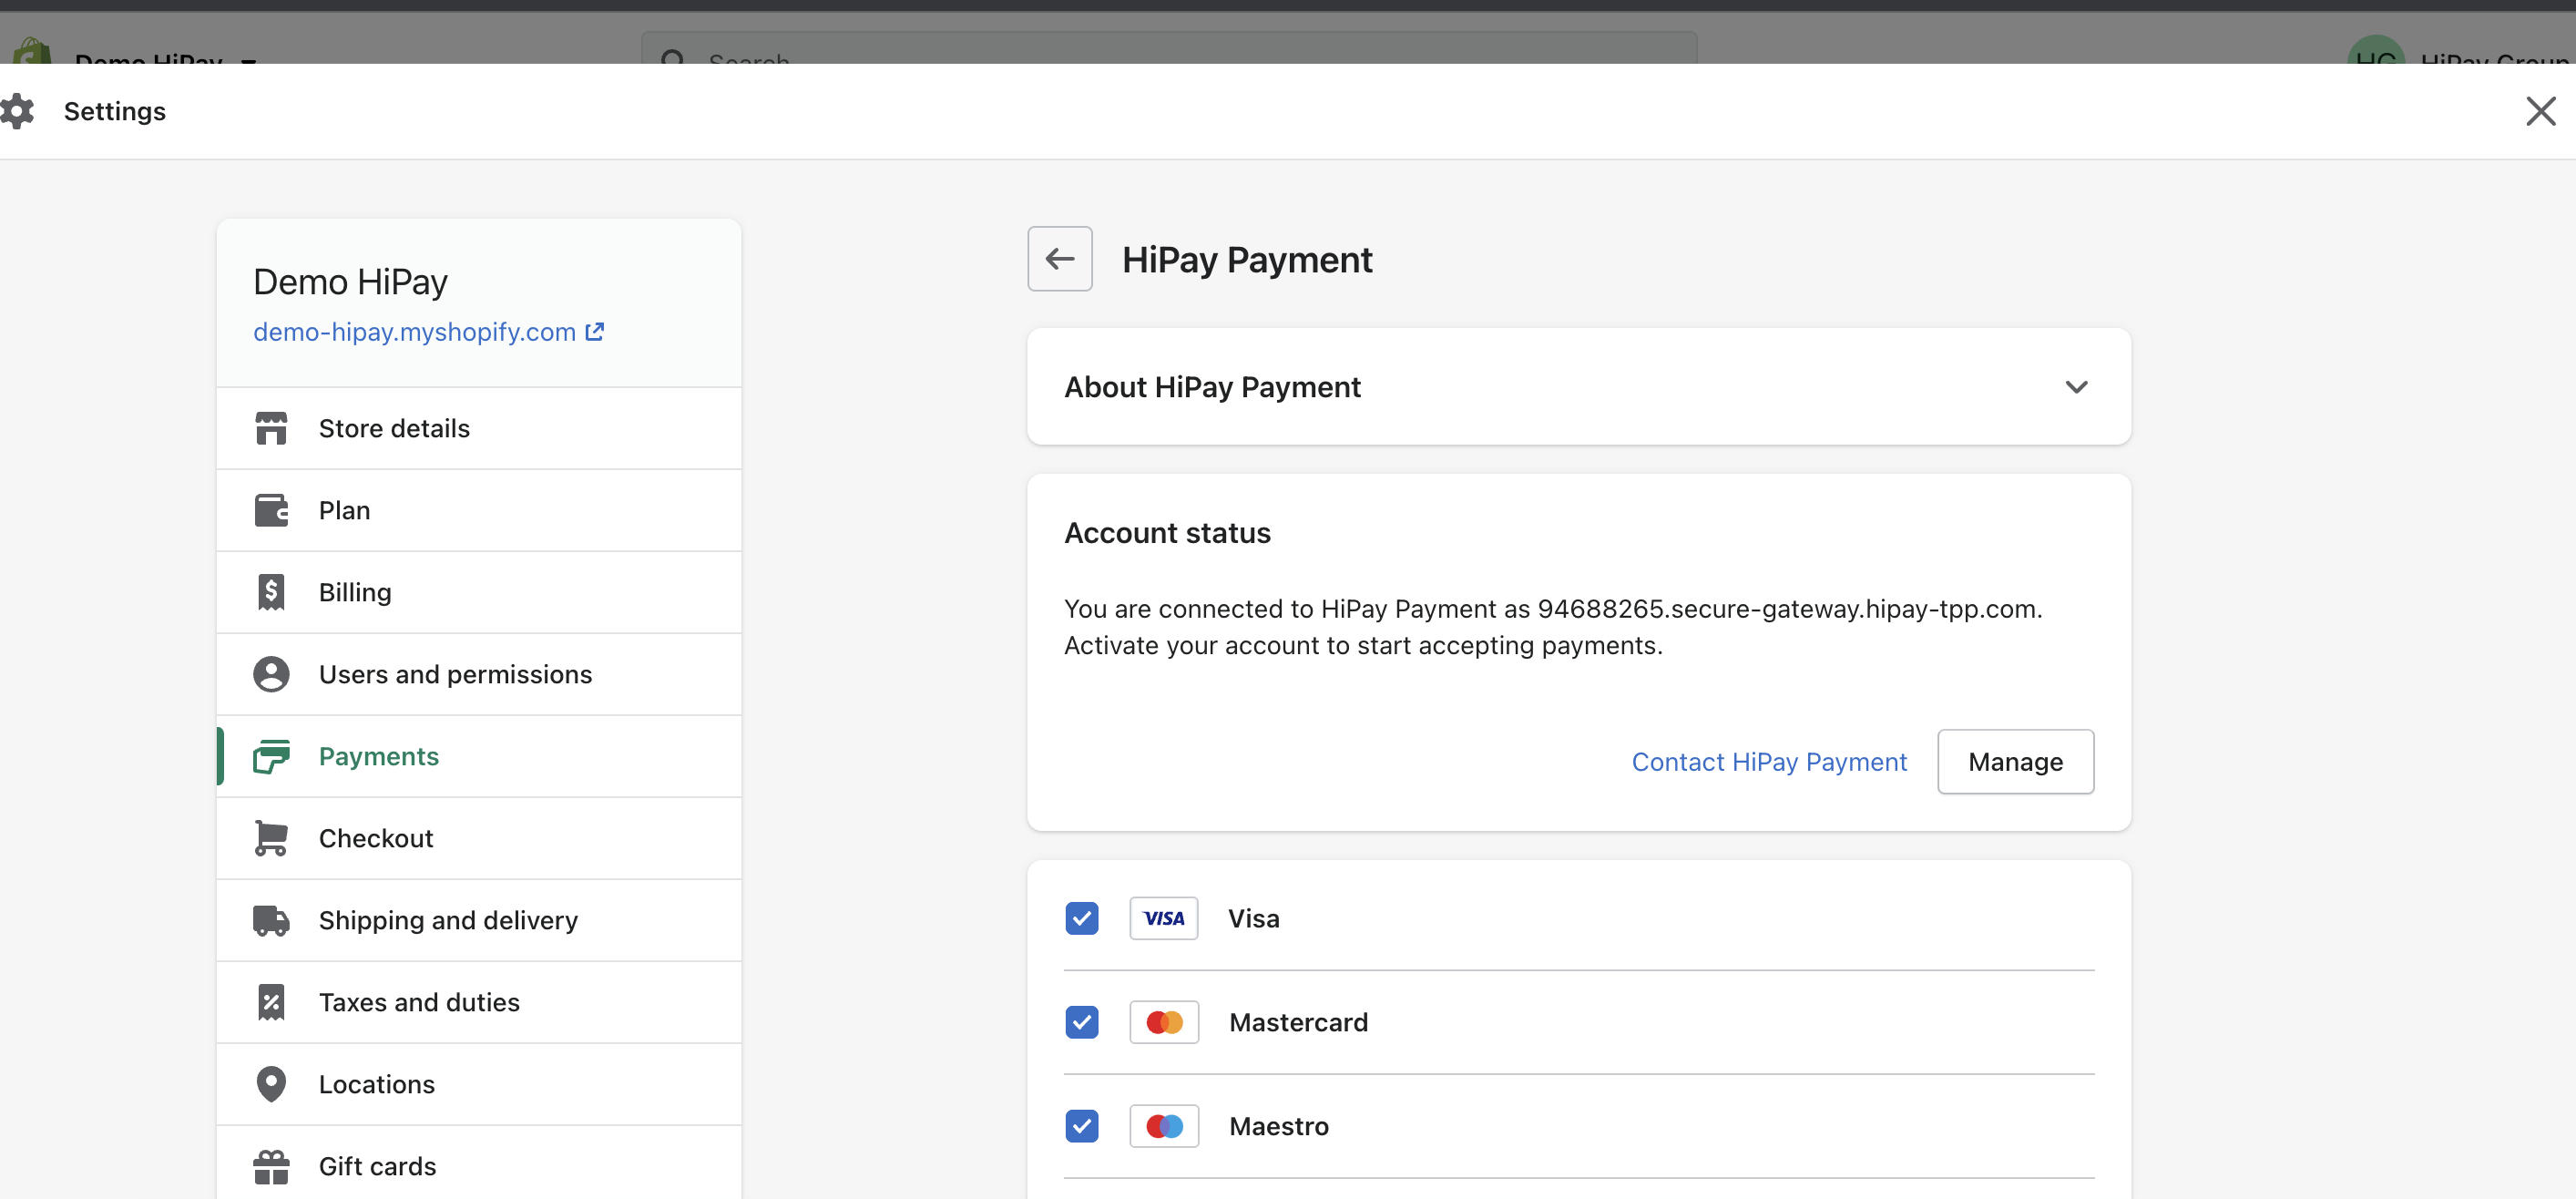
Save your configuration and go back to the shopify admin.
If you hadn’t close the shopify admin page, refresh it.
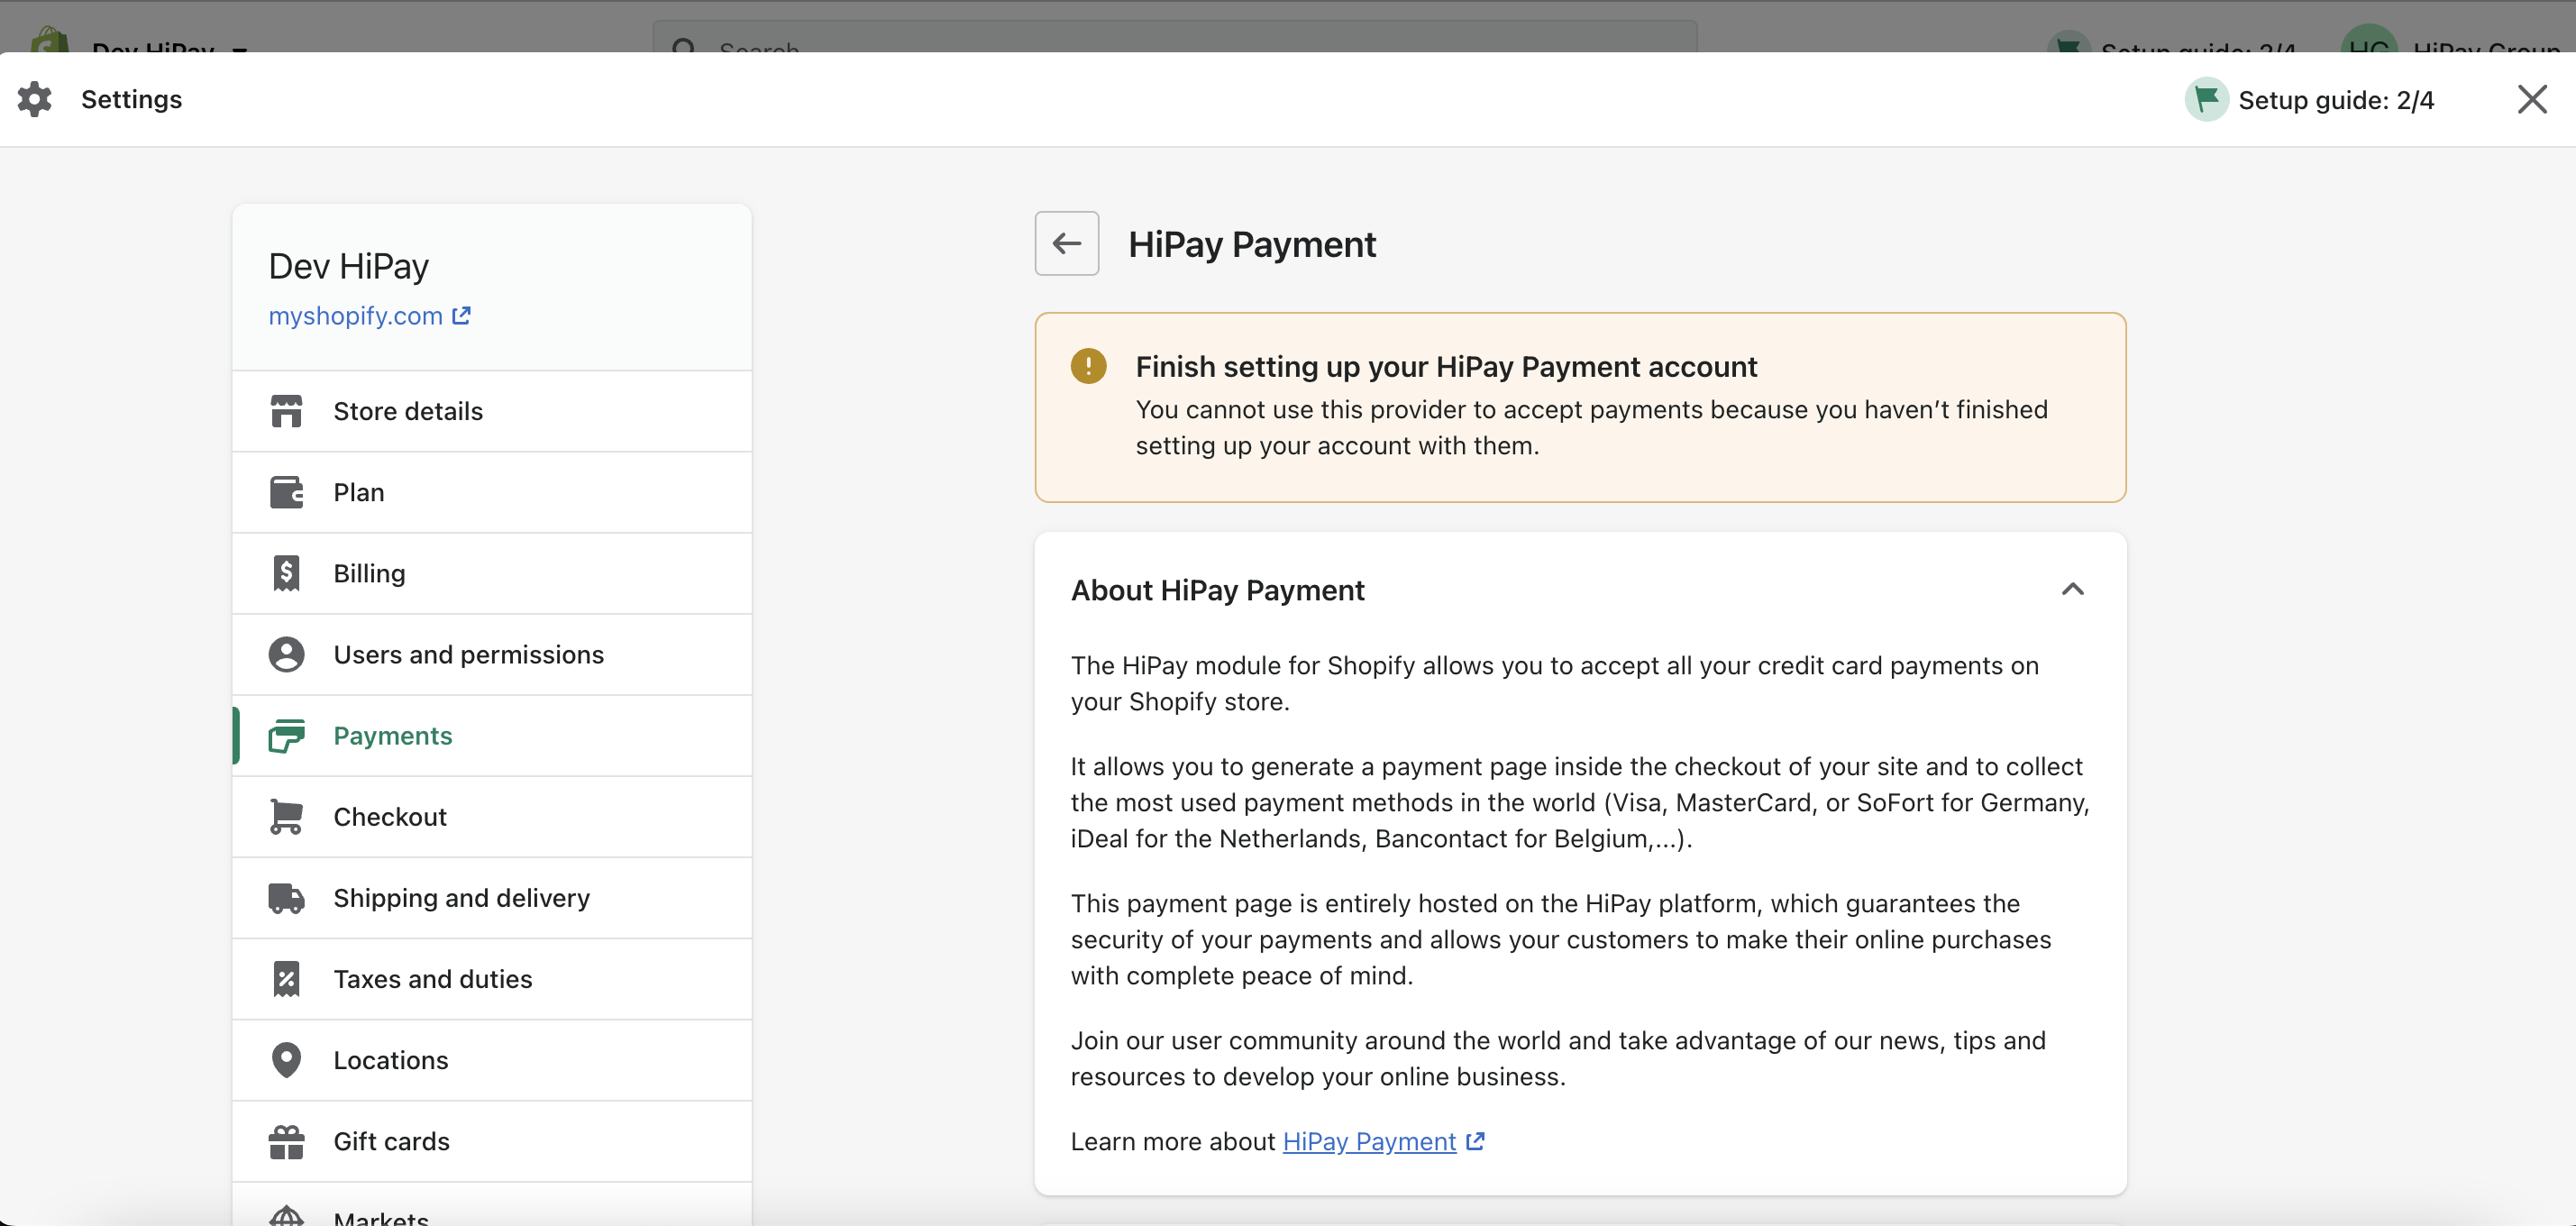
You will see the module in shopify with payment methods. Scroll down to see the button “Activate” our module.
Alternative installation method
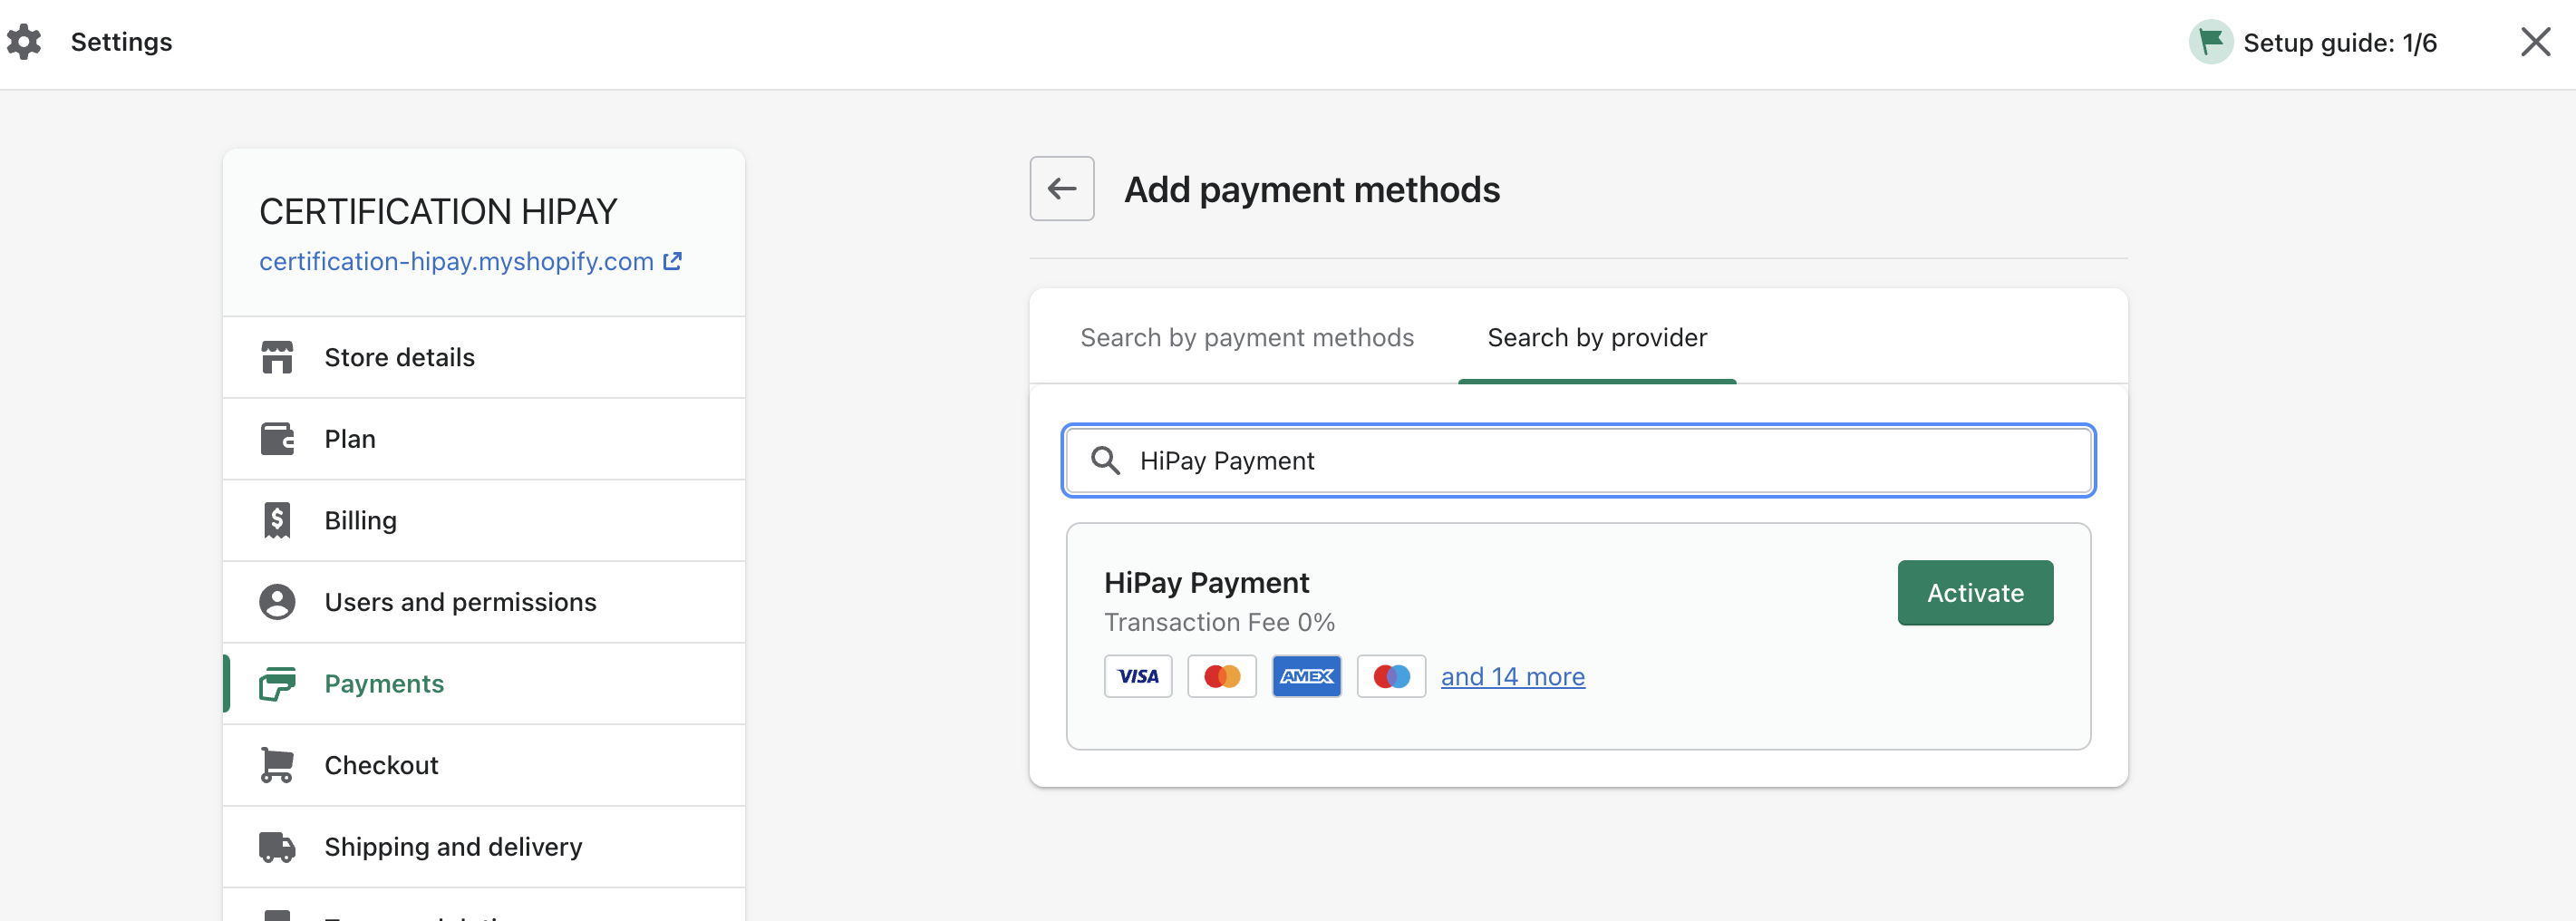
It is possible to integrate our module in shopify. For that, we have to be in “settings” and in page “Payment” on your Store
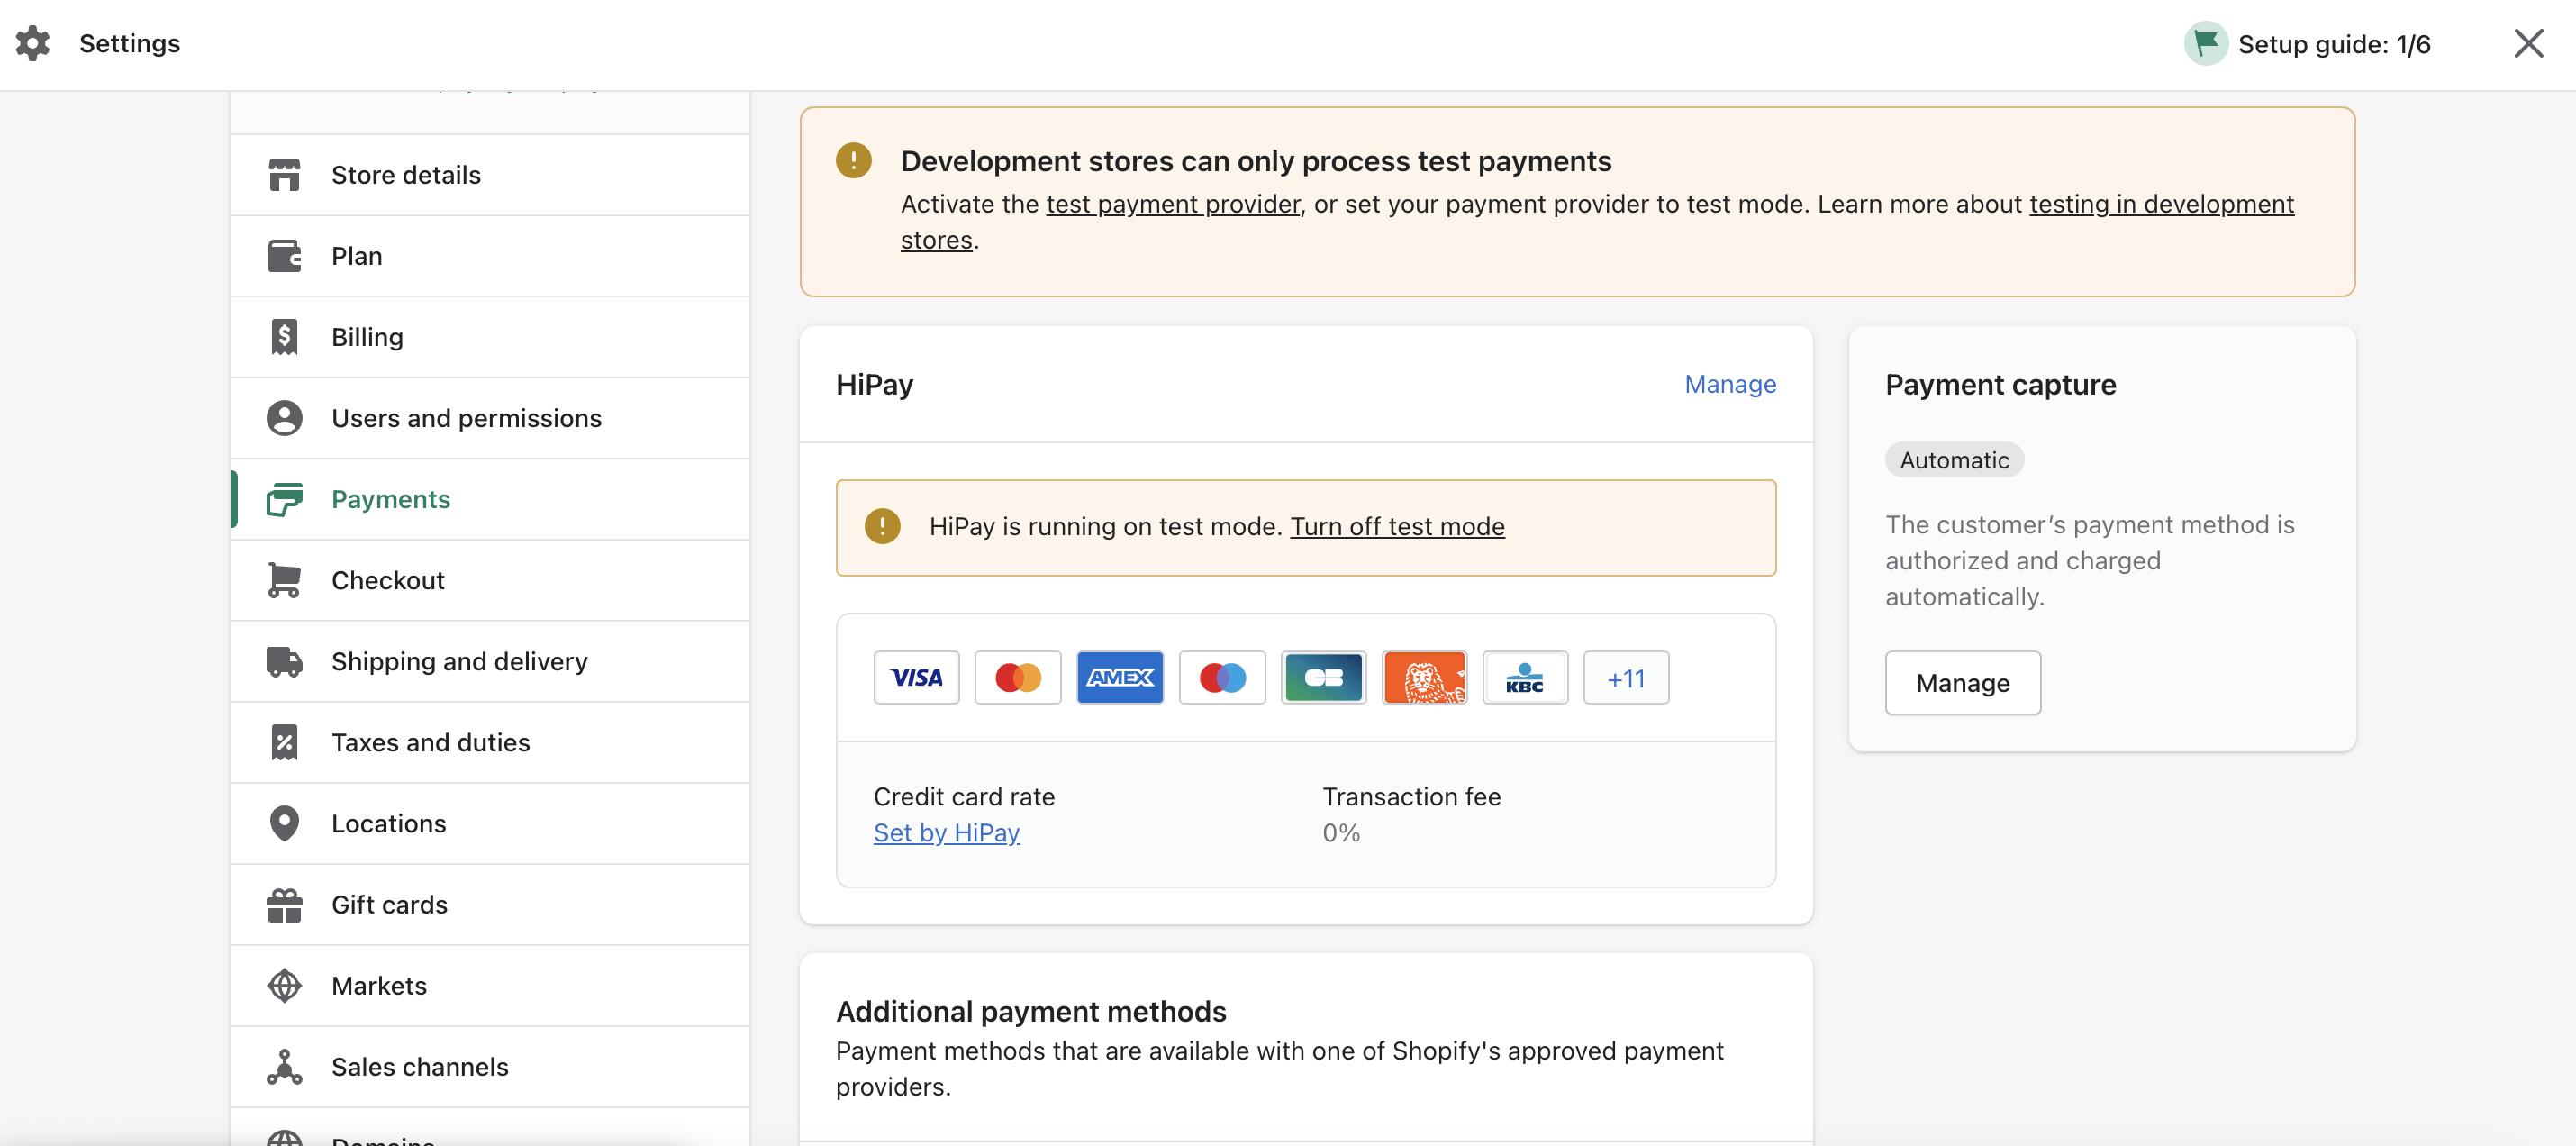
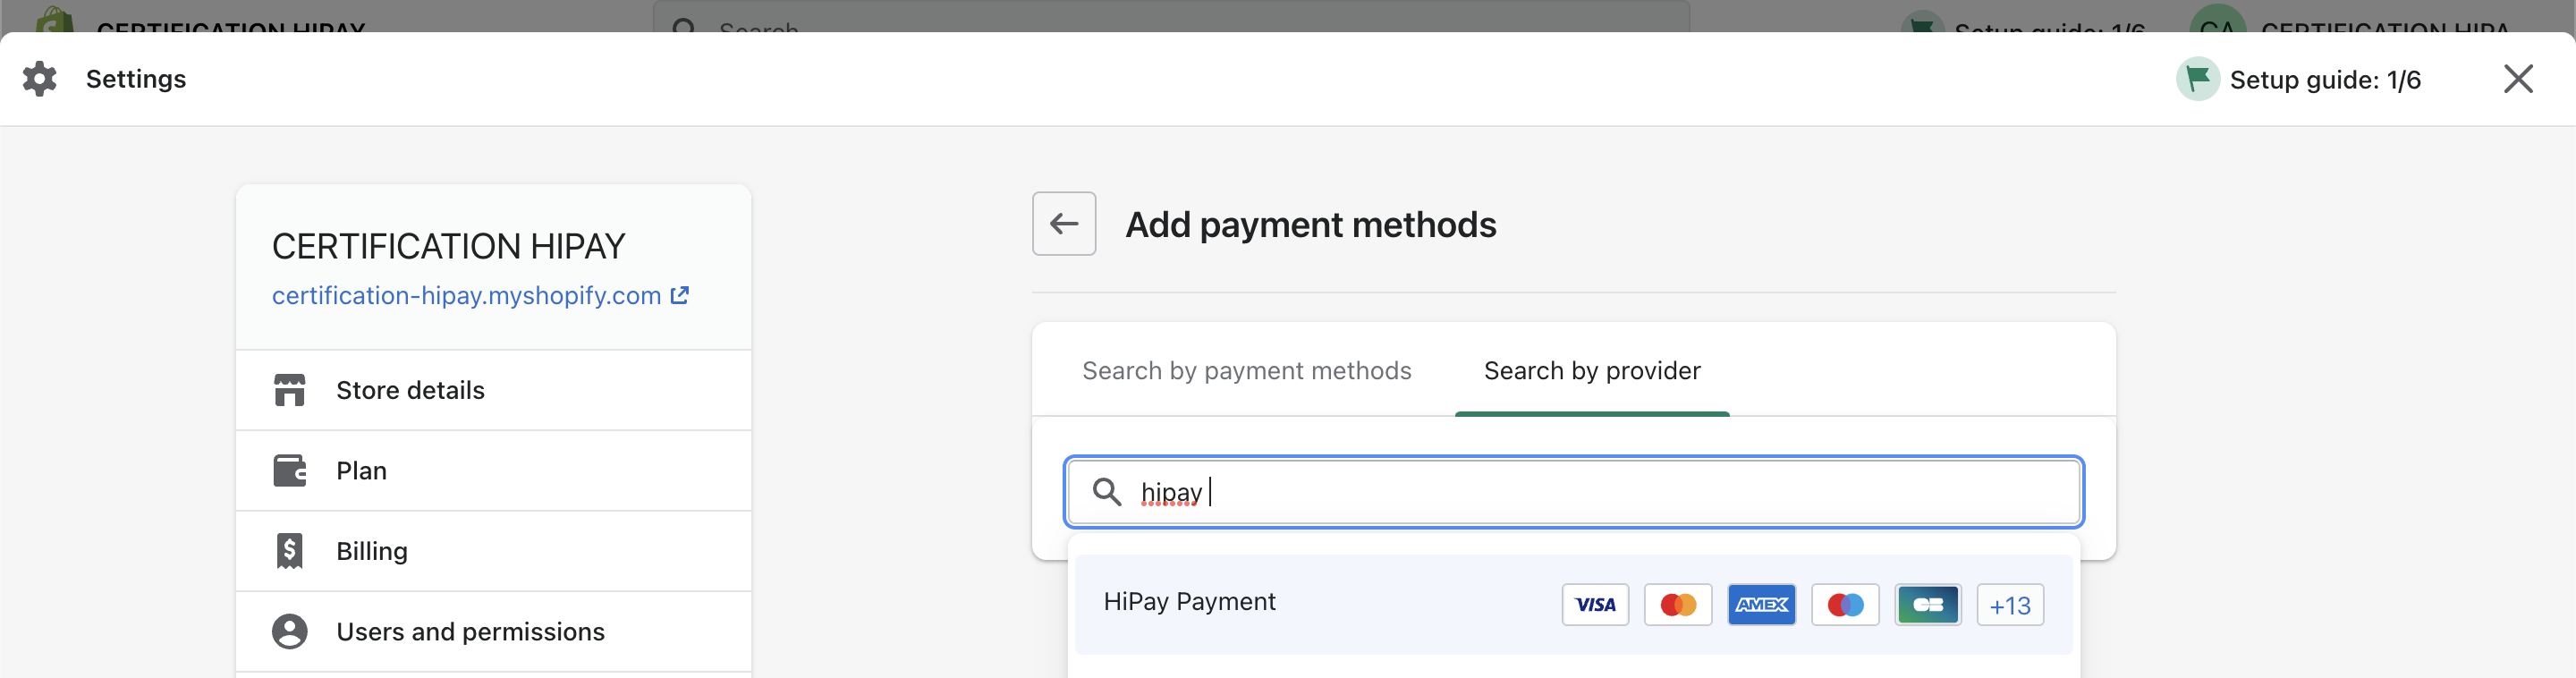
To add our module, we can click on “Add payment methods“

In the tab “Search by provider“, Write Hipay Payment in the search and select our module “Hipay Payment“
Once the module is selected, you must click on the “Activate” button